
Concrete Slab
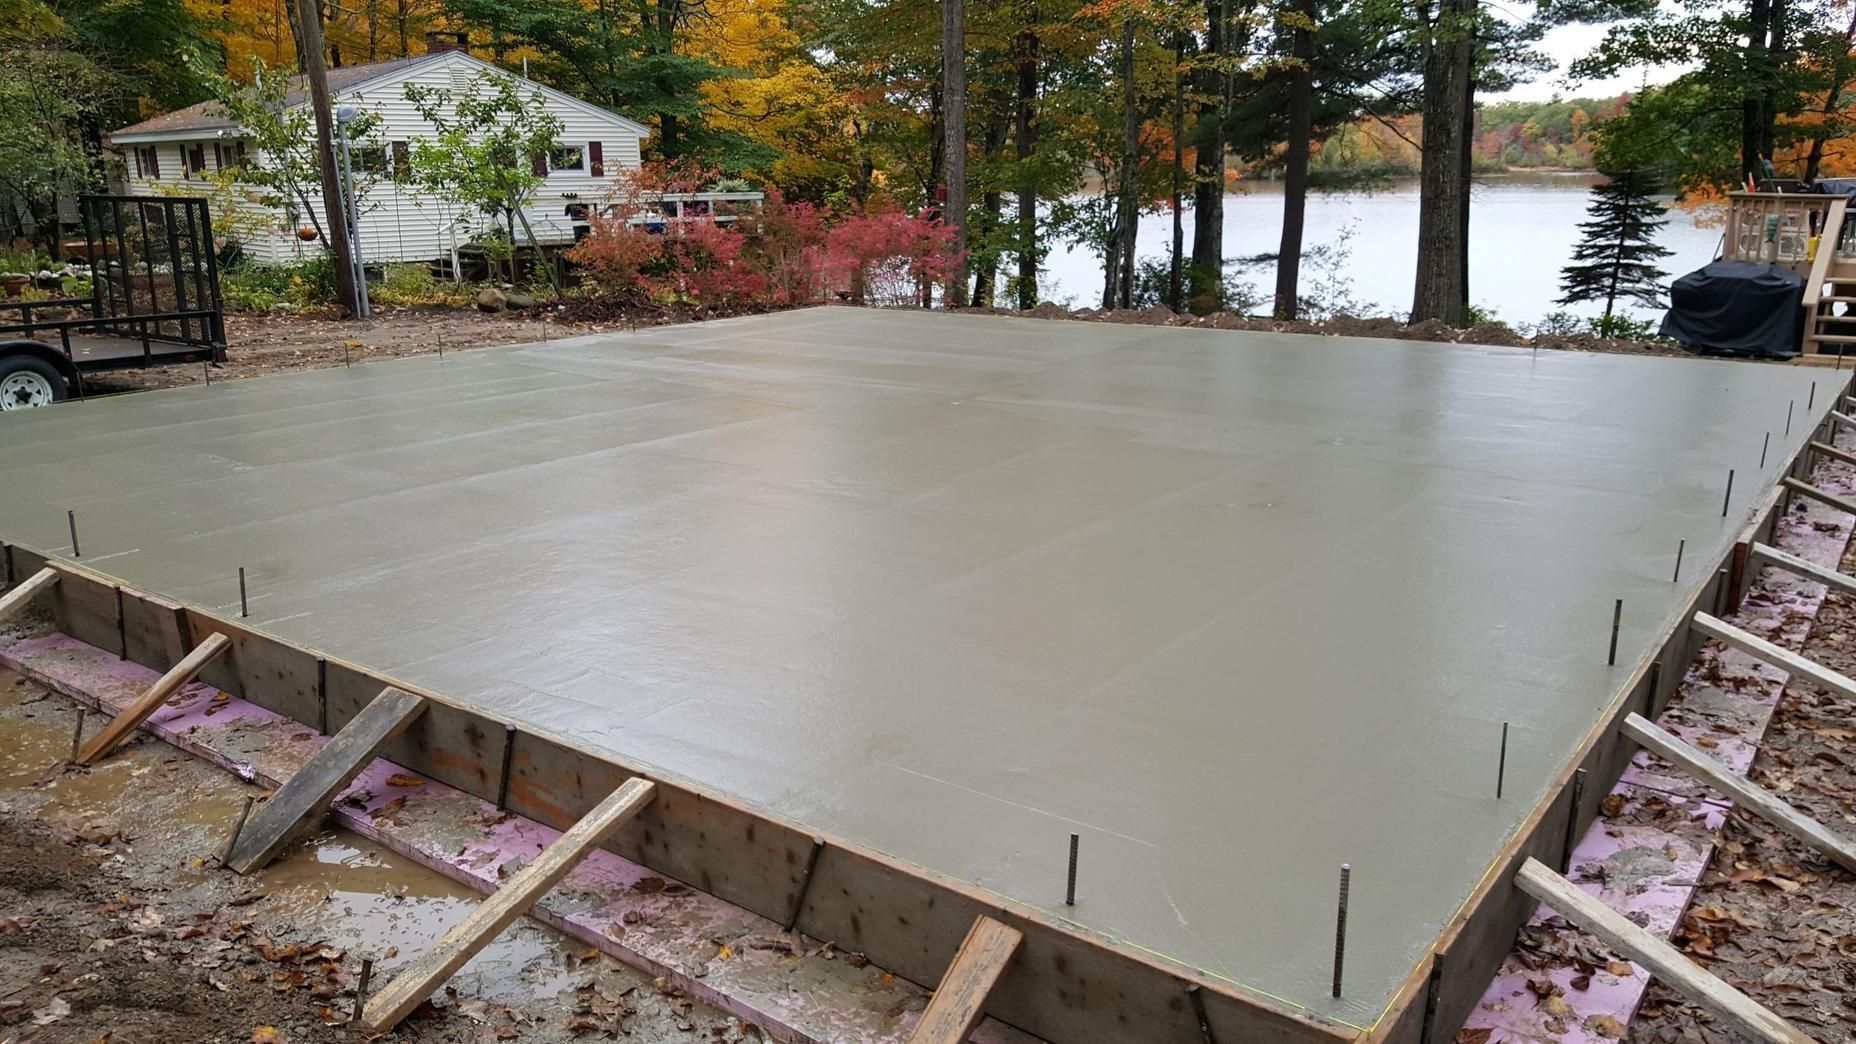
Concrete Slab – A Durable and Stable Foundation for Your Dome
A concrete base provides a continuous, solid foundation for the dome structure, designed for long-term use. It’s an ideal solution for flat or gently sloping terrain. The following steps and tips will help ensure professional execution—whether you’re organizing it yourself or working with a contractor.
Concrete Slab Step by Step
1)Finalize the Floor Plan
This is the very first and most important step.
Once the concrete sets, modifying the location of utility lines becomes nearly impossible. Only begin pouring concrete once you’re certain about the placement of interior walls, the bathroom, and the water and power lines.
2) Site Grading and Leveling
Leveling the ground is a fundamental requirement.
If the terrain is sloped, retaining walls may be necessary to prevent landslides and soil erosion.
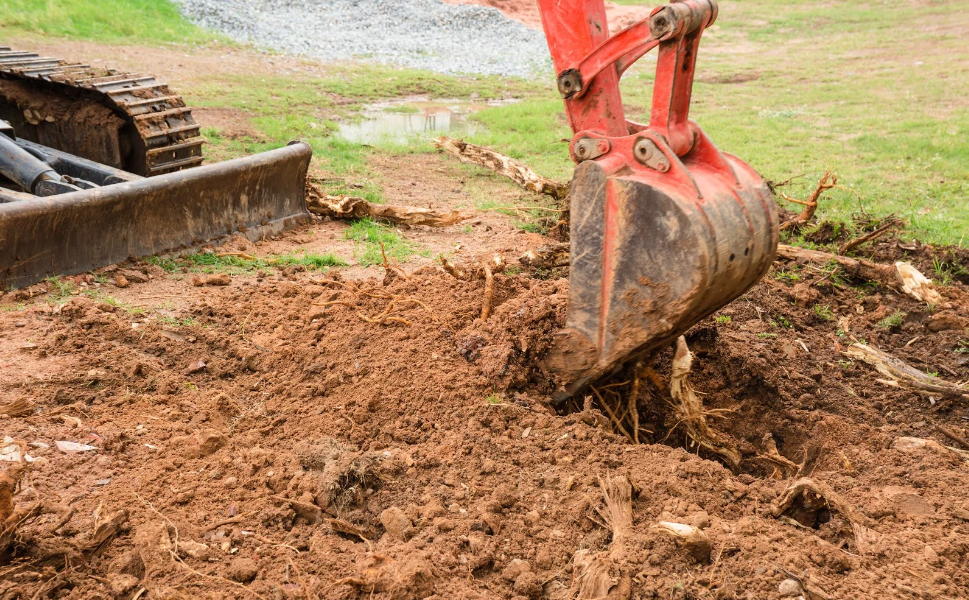
3) Vegetation Removal and Regrowth Prevention
Clear the site of roots and undergrowth.
Using weed barrier fabric or geotextile helps prevent regrowth, which in the long run also reduces the chance of insects and animals appearing.
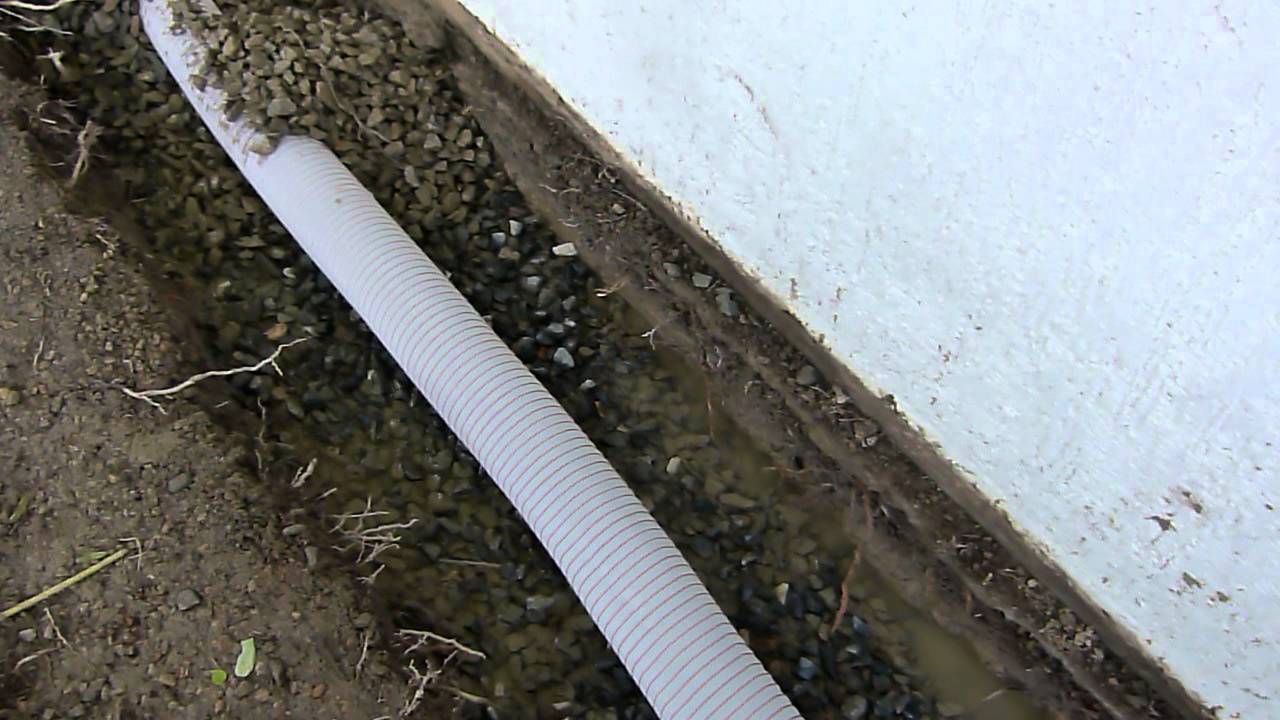
4) Drainage Setup
One of the most important steps!
Water must not collect under the slab, or erosion may develop over time.
It’s essential that water can drain away naturally, following the slope by gravity!
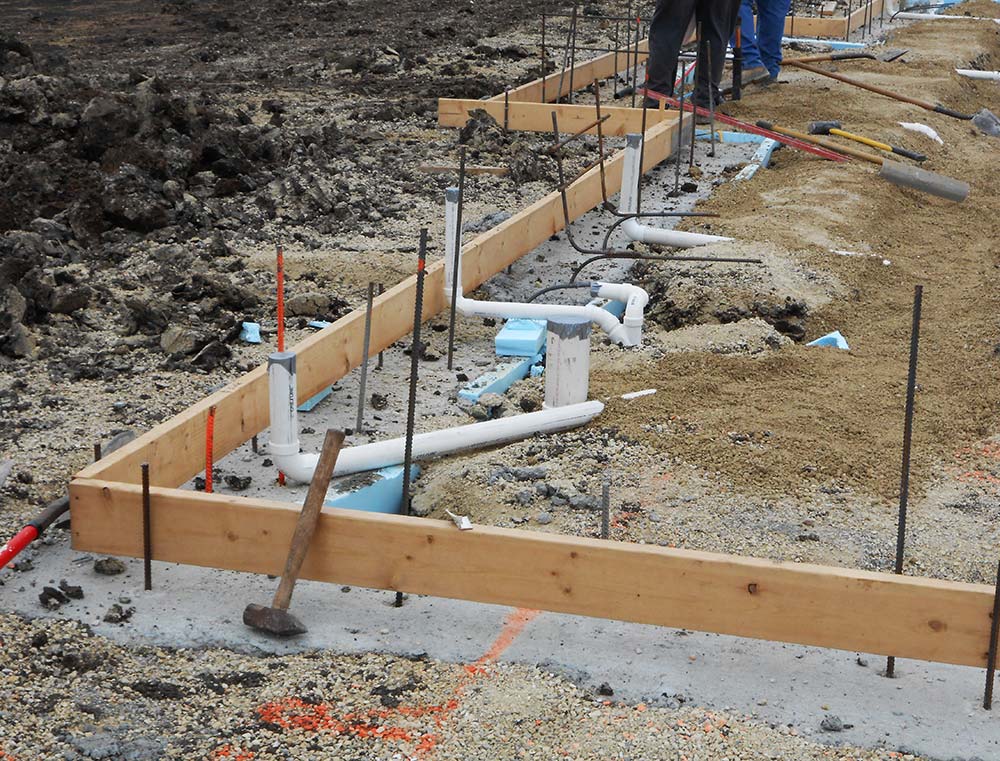
5) Utility Pre-Installation
Based on the floor plan, all pipe and conduit placements should be prepared:
- water and sewage pipes
- electrical conduits
- air conditioning pre-installation
- gas pipes (if applicable)
You don’t need to connect them yet, but the pipes must be in place before the concrete is poured—modification afterward is not feasible.
6) Formwork Construction
The formwork holds the concrete in place during curing.
Secure it firmly with stakes to prevent shifting during pouring.
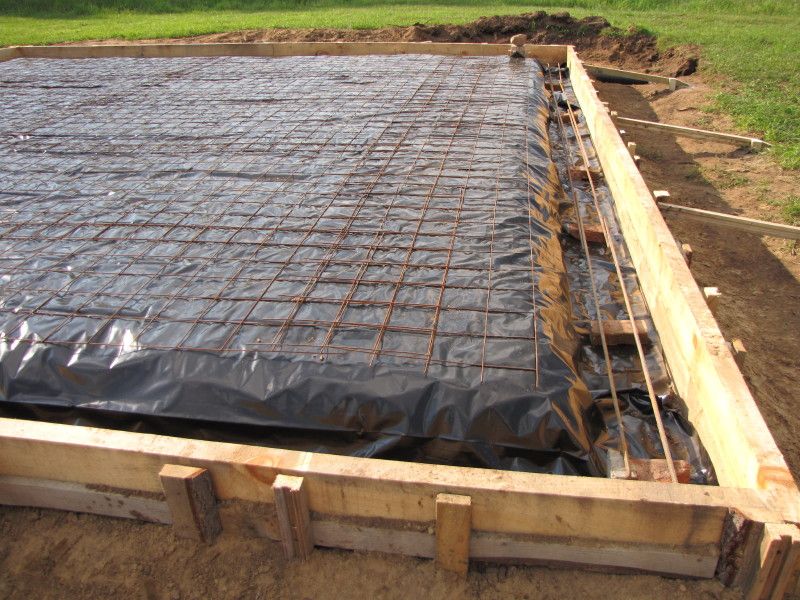
7) Rebar and Spacers Placement
Don’t skip the metal reinforcement mesh that ensures the slab’s strength.
This gives the slab its structural integrity.

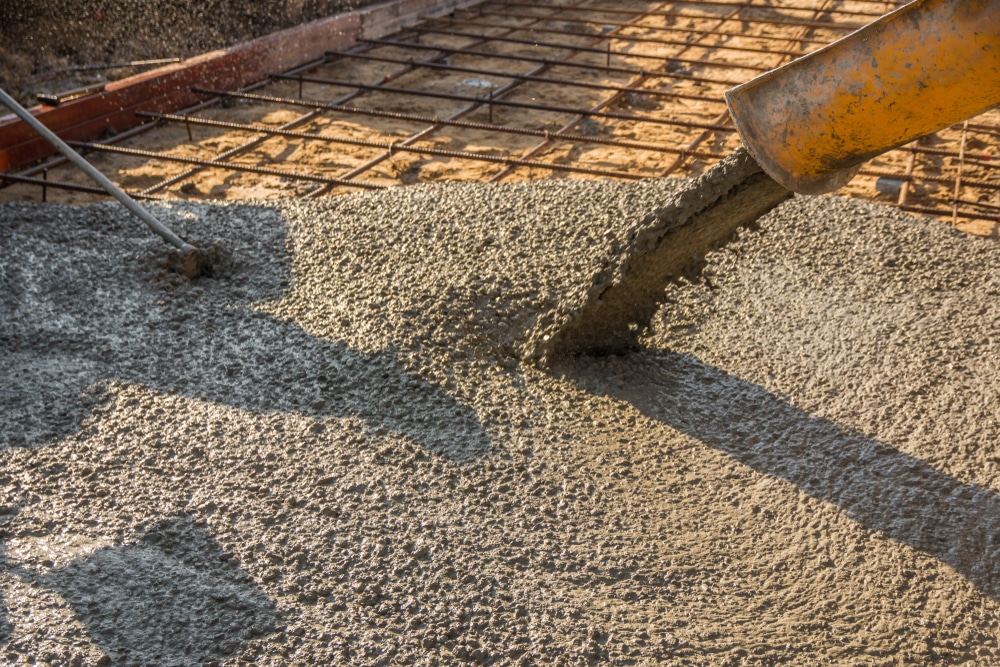
8) Concrete Pouring
Now it’s time to pour the concrete!
Some clients create a slight slope from the center outward to avoid water pooling on the surface—this is not mandatory but can be useful.
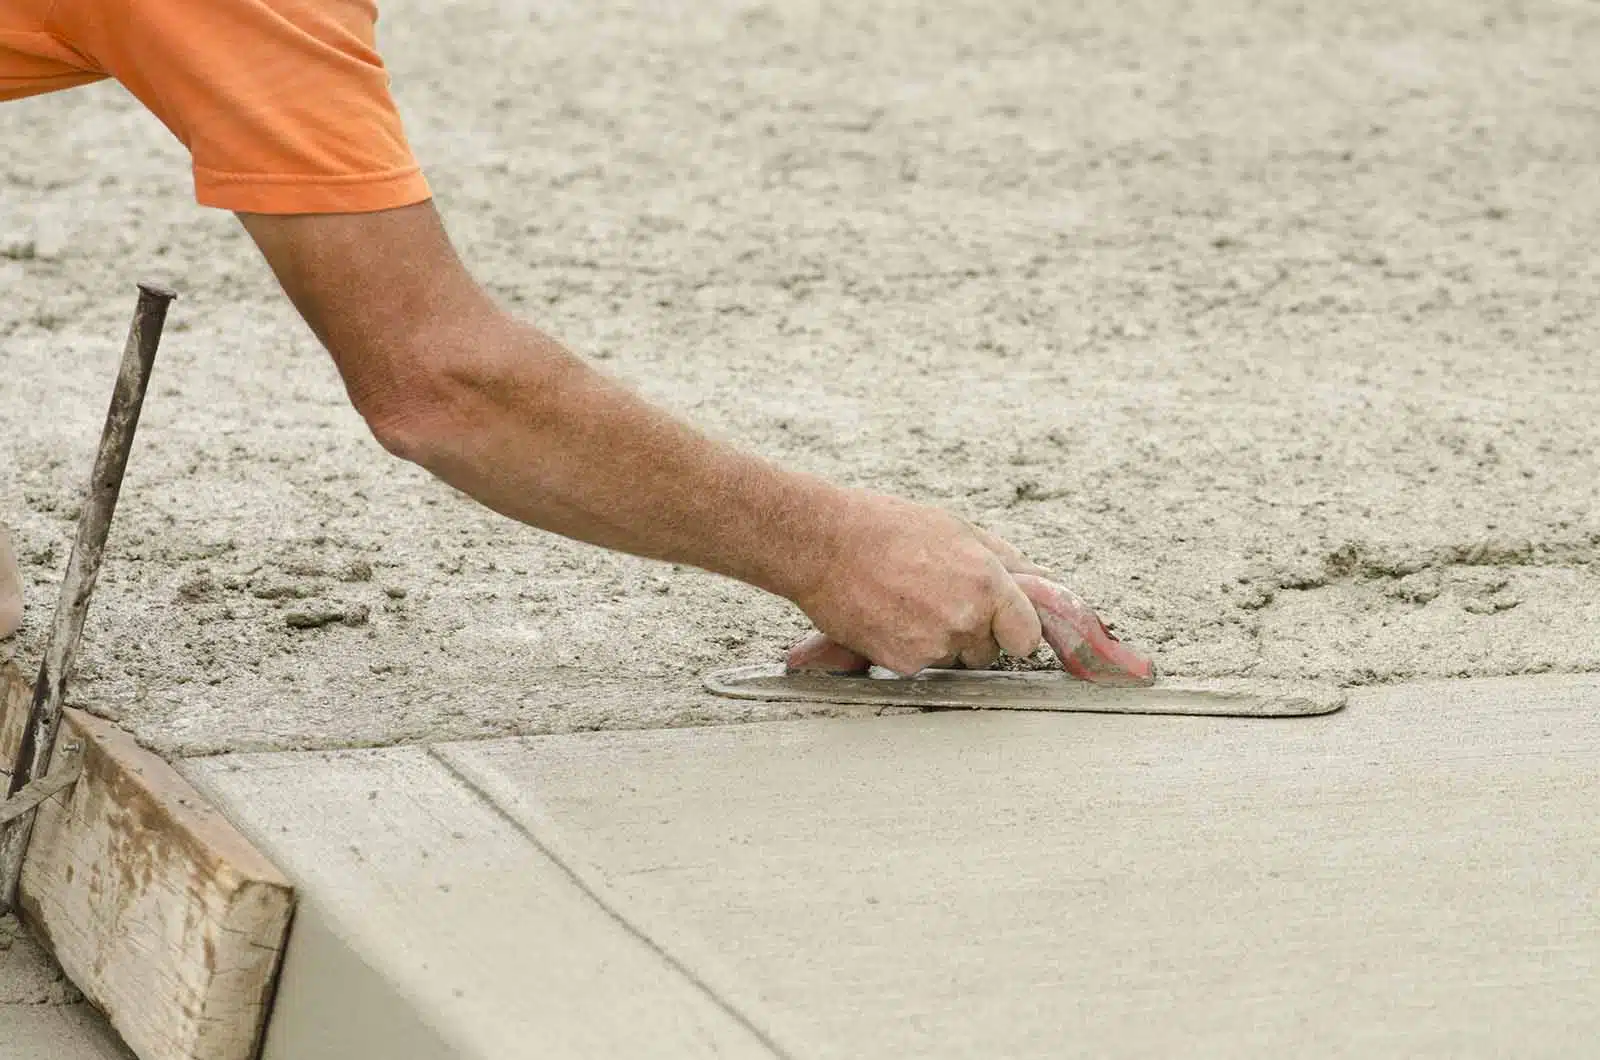
9) Leveling and Smoothing
Creating a flat, even surface is critical to ensure the dome stands firmly.
Professional tools—or a specialist—are recommended for this step.
10) Curing Time
Allow the concrete to rest for at least 2–3 days before starting dome construction.
Skipping this step can result in poor anchoring and reduced resistance to extreme weather or strong winds.lace before the concrete is poured—modification afterward is not feasible.
Our Technical Recommendations for the Glampex Dome
Recommended slab size: For a 7-meter dome, the slab should be at least 7200 mm in diameter (not including the door opening).
Slab thickness: Recommended 100–120 mm (to be finalized with your contractor).
Anchor edge: Ensure at least a 100 mm perimeter for anchor plates and tightening rods.
Outer perimeter groove:
- width: 250–400 mm
- depth: 250–350 mm
- this ensures proper hold for anchor bolts even under heavy wind loads.
Next steps
Continue to the next step, or go back.